
CEO/Founder Of Bela Beauty College
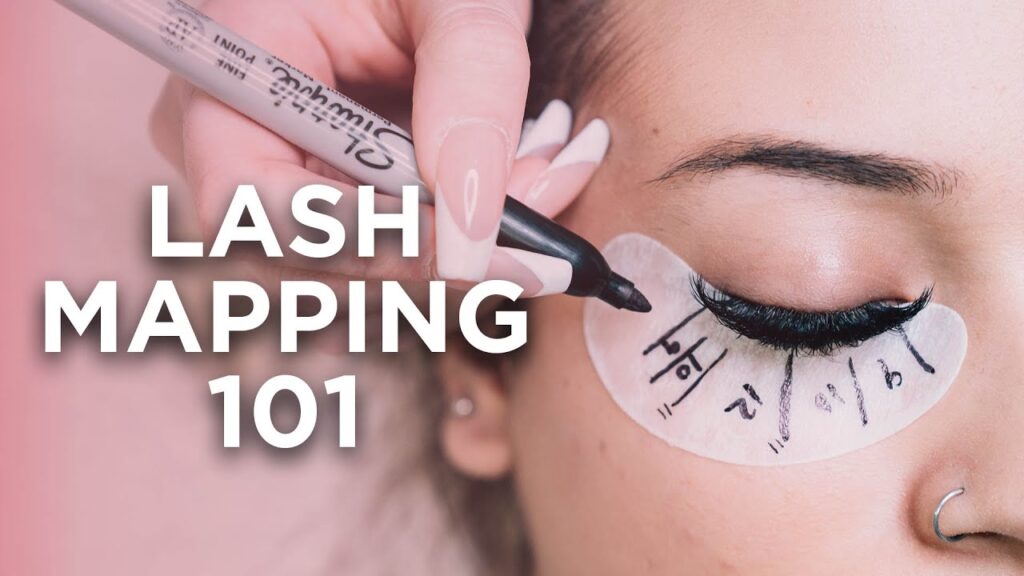
Lash mapping is the strategic process of planning where and how to apply individual eyelash extensions to suit a client’s eye shape and style preferences. It ensures balanced, symmetrical, and professional results by using visual guides, tools, and customisable lash designs.
Lash mapping is the blueprint for applying eyelash extensions.
Whether you’re a beginner or an experienced lash artist, mastering lash mapping ensures precision, consistency, and the ability to customize every set. It’s also an important foundation when learning not just styles, but understanding how long eyelash extensions usually take during a full set or refill.
At Bela Beauty College, we teach this essential technique in our professional lash courses, guiding students through real-world applications and certification.
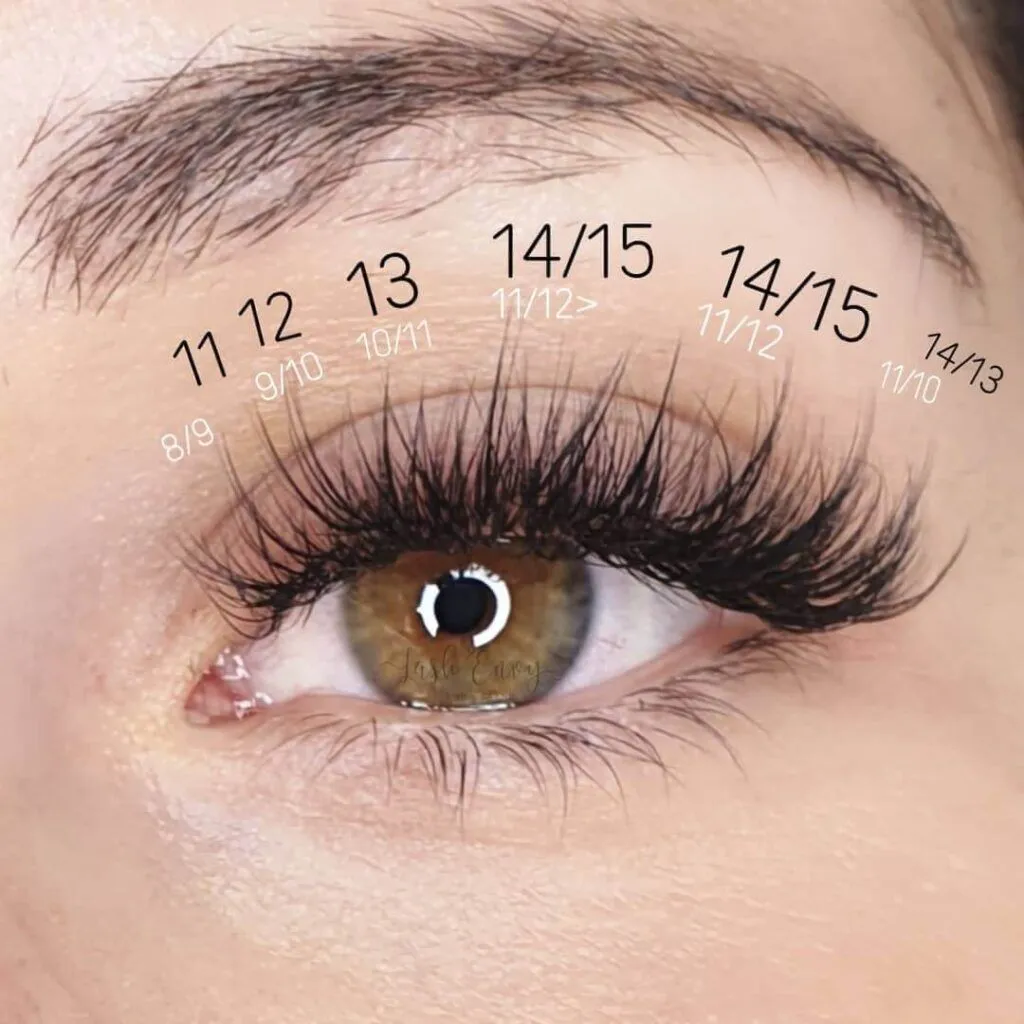
Before mapping begins, a proper eye shape analysis sets the foundation for your design.
Pro Tip: Always consider lash health and growth direction in your analysis.
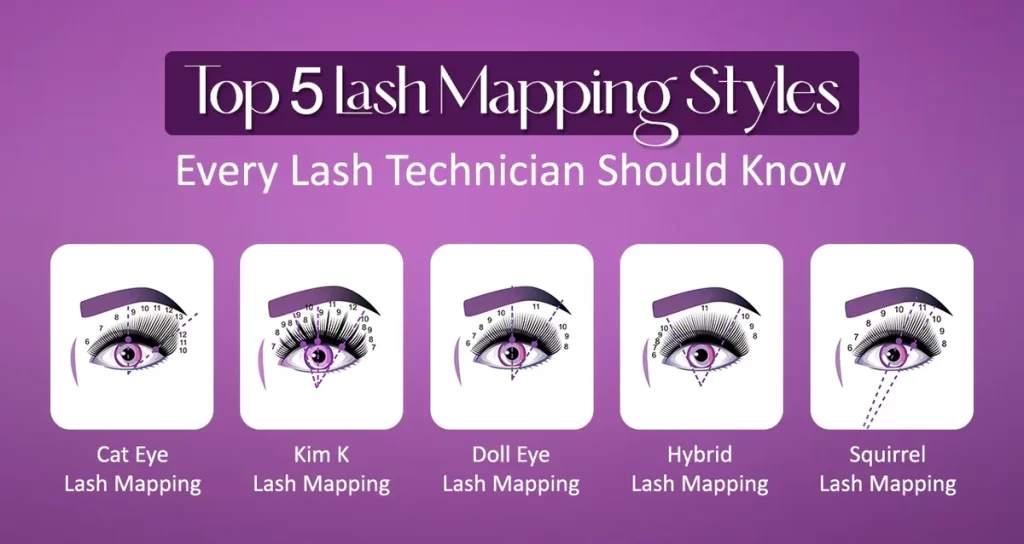
Choose a style that complements your client’s natural features and desired outcome:
Example for Cat Eye Map:
Follow your map precisely:

Customising lash maps for specific eye shapes is essential for flattering results.
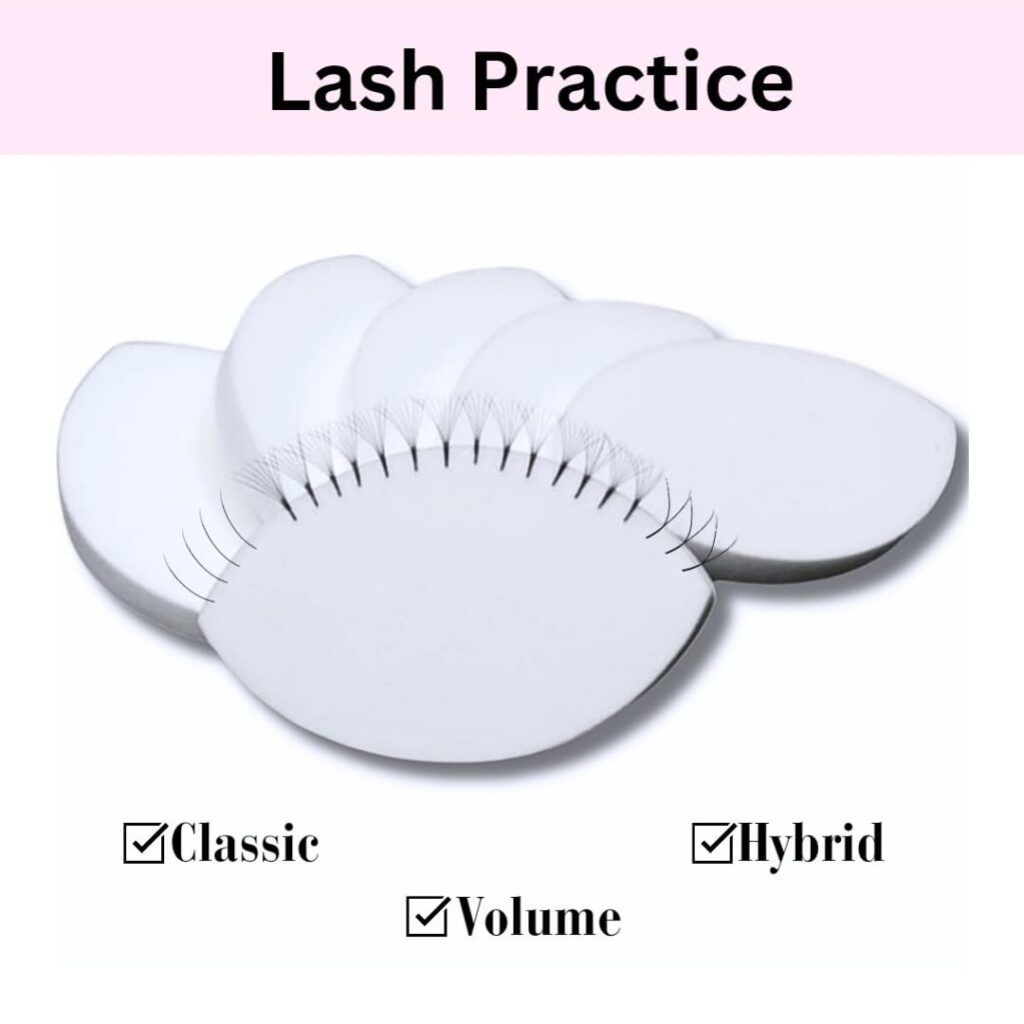
The right tools will save you time and improve accuracy.
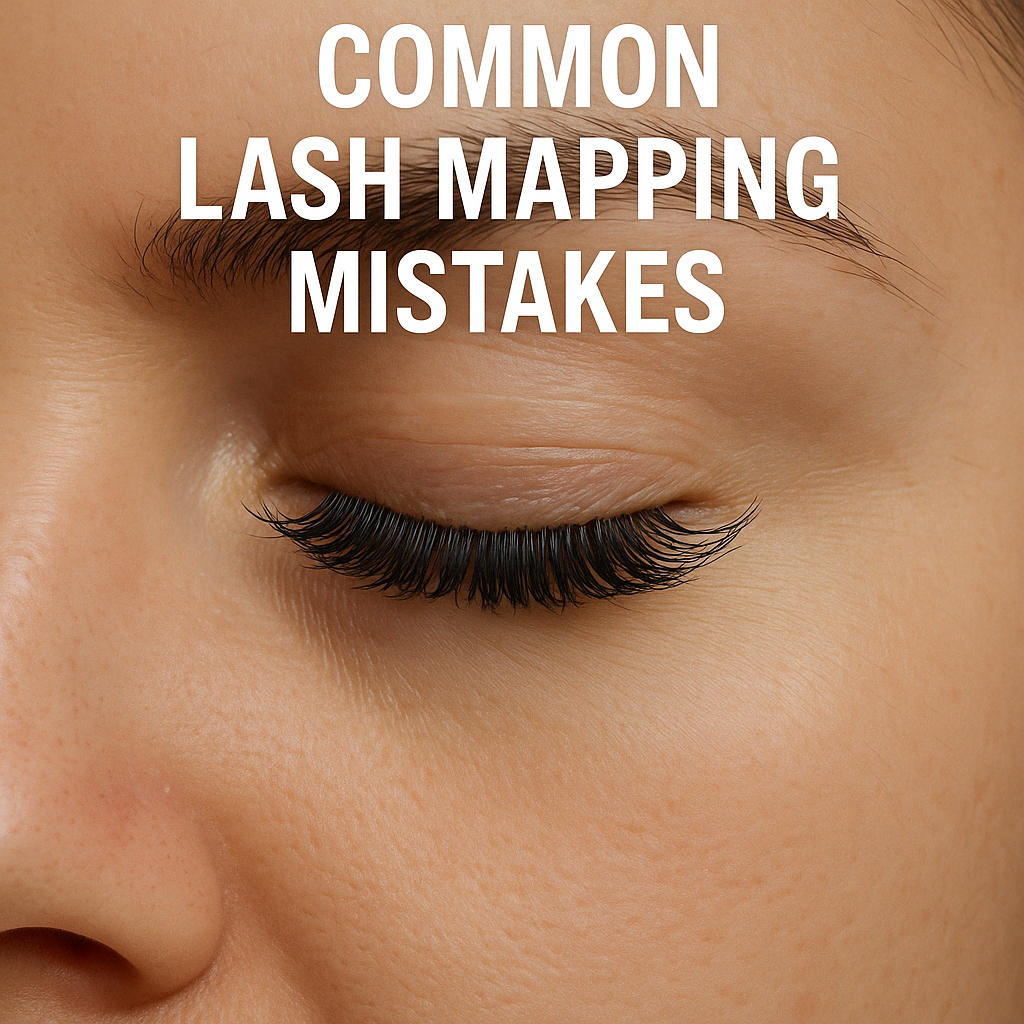
Lash extensions require precision, balance, and an understanding of natural lash anatomy. Avoiding common mistakes can make the difference between a flawless set and one that causes discomfort or damage. Here are key lash mapping mistakes to steer clear of:
Ignoring Natural Lash Growth
Leads to drooping or overly stiff sets.
Always map based on real lash direction.
Using Incorrect Curl or Length
Can cause discomfort or breakage.
Match curls to natural lash lift.
Inconsistent Lash Sectioning
Causes asymmetry between eyes.
Use a ruler or pre-drawn lash pads.
Skipping Eye Shape Analysis
Results in unflattering design.
Always assess the shape first.
Overloading Outer Corners
Increases risk of lash droop and fallout.
Balance weights across the lash line.
Our online lash extension course teaches you everything from precise lash mapping and flawless application techniques to proven business strategies — all at your own pace. You’ll also discover how to get perfect eyelash extensions every time by mastering lash isolation, adhesive control, and styling for different eye shapes.
Yes. Lash mapping removes guesswork and helps beginners develop symmetry and structure.
Yes, if their desired look and lash health remain unchanged. Save it in their client file.
Suite 7
144-156 George Street,
Fitzroy Victoria,
Australia 3065
1212-1175 Douglas Street 7
Victoria,
Canada V8W 2E1
6 Clayton Street
Newmarket, Auckland
New Zealand 1023
5th Floor
60 Cheapside
London EC2V 6AXa