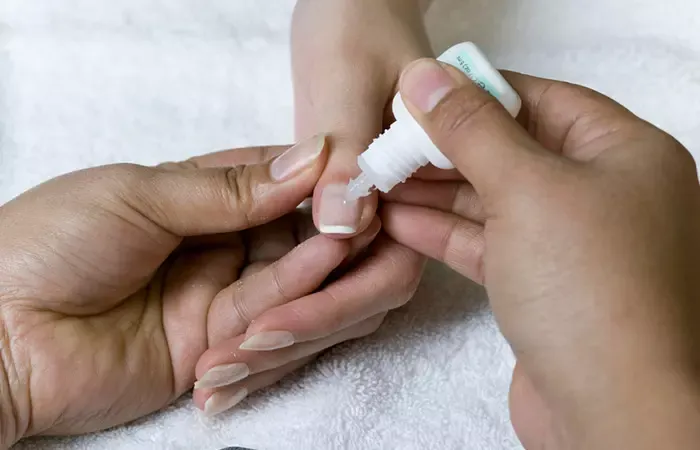
Yes, you can fix a broken acrylic nail without replacing it. Depending on the severity, you can repair it at home using nail glue, a tea bag or silk wrap, or even acrylic powder or builder gel to restore strength and appearance.
What Causes Acrylic Nails to Break?

Acrylic nails can break for several reasons, most of which stem from everyday habits and stress on your hands. Understanding the cause is the first step to preventing future breakage. Many people ask, “How long does it take to do acrylic nails?” — and while the process usually takes 45 minutes to 2 hours depending on the complexity, rushing or improper technique during that time can contribute to future issues like cracking or lifting.
- Excessive force or trauma (e.g., banging your nail on hard surfaces)
- Incorrect application or overly thick/thin acrylic layers
- Water exposure, leading to lifting and eventual cracking
- Natural nail growth, pushing against the acrylic over time
- Skipping fills or aftercare routines
Signs to watch out for before a break happens:
- Lifting near the cuticle
- Tiny cracks or splits near the tip
- A feeling of looseness or popping when pressure is applied
- Discoloration or air bubbles under the acrylic
Can You Really Fix a Broken Acrylic Nail Without Replacing It?
Yes, you can absolutely fix a broken acrylic nail without replacing the entire set.
If the damage is minor, a quick at-home repair using glue or wrap works well. For more serious breaks, builder gel or acrylic powder can reconstruct the nail. Full replacement is typically only necessary for extensive damage or infection.
Tools and Materials You’ll Need

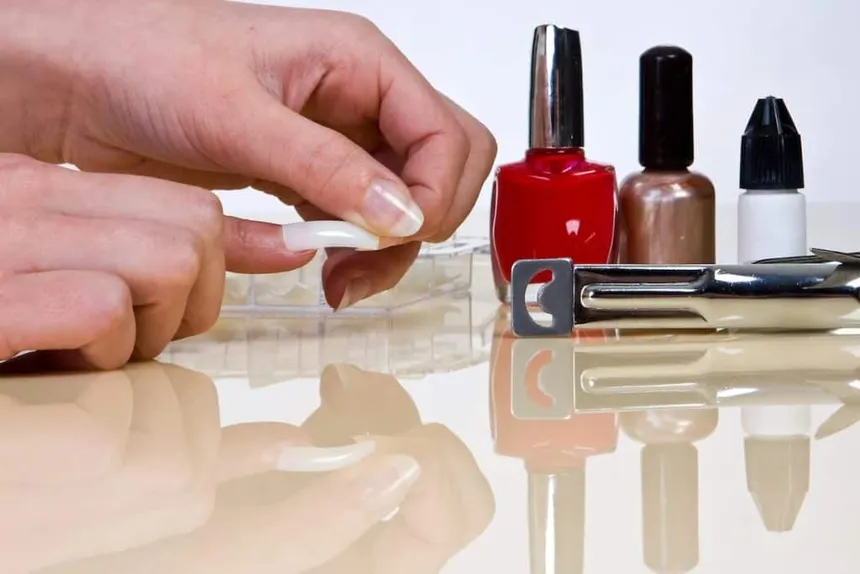
Before starting any acrylic nail repair, gather your materials. This ensures a smooth, efficient fix.
Essentials for minor repairs:
- Nail glue for acrylics
- Nail file and buffer
- Rubbing alcohol or nail cleanser
- Silk wrap or tea bag
- Top coat and base coat
For more advanced fixes:
- Acrylic powder and liquid
- Nail brush
- Builder gel or hard gel
- Nail forms or replacement tips
- UV/LED lamp (for gel methods)
- Primer and dehydrator (optional)
Tip: Consider investing in an acrylic nail repair kit—it combines most of these items in one set.
Step-by-Step: How to Fix a Broken Acrylic Nail Without Replacing It
A. Minor Crack or Chip
If the acrylic nail is cracked but intact, here’s how to fix it at home:
- Clean the Area
- Use rubbing alcohol to sanitise the nail and surrounding skin.
- Apply Nail Glue
- Squeeze a small amount of glue directly into the crack.
- Press the crack together gently and hold for 10-15 seconds.
- Squeeze a small amount of glue directly into the crack.
- Reinforce With a Tea Bag or Silk Wrap
- Cut a small piece of tea bag or silk to fit over the crack.
- Apply glue to the nail, place the wrap over it, and press down.
- Add another thin layer of glue over the wrap and let it dry.
- Cut a small piece of tea bag or silk to fit over the crack.
- File and Buff
- Smooth the surface once the glue is fully dry.
- Avoid filing too aggressively to prevent weakening the nail.
- Smooth the surface once the glue is fully dry.
- Top It Off
- Apply a top coat or sealant to blend the fix.
- Cure under a lamp if using gel.
- Apply a top coat or sealant to blend the fix.
B. Severe Break or Split
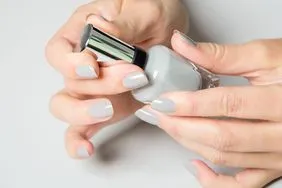
When the acrylic is split across or partially detached but still salvageable:
- Trim and Remove Loose Edges
- Use nail clippers and a fine file to trim damaged sections.
- Avoid pulling off any lifted acrylic.
- Use nail clippers and a fine file to trim damaged sections.
- Prep the Nail
- Clean the nail with alcohol.
- Lightly buff to remove shine and prep the surface.
- Clean the nail with alcohol.
- Rebuild With Acrylic or Gel
- Option 1: Builder Gel
- Apply a thin layer of builder gel.
- Cure under a lamp.
- Repeat for 2-3 layers for strength.
- Apply a thin layer of builder gel.
- Option 2: Acrylic Powder Fill Method
- Apply a small amount of glue into the crack.
- Sprinkle acrylic powder over it while wet.
- Continue layering glue and powder for up to 3 layers.
- Once hardened, buff and shape.
- Apply a small amount of glue into the crack.
- Option 1: Builder Gel
- Optional: Use a Nail Form or Tip
- Attach a form if you need to extend the broken part.
- Sculpt acrylic over the form and blend with the existing nail.
- Attach a form if you need to extend the broken part.
- Finish and Seal
- Buff the nail to smooth out the surface.
- Apply top coat or polish.
- Buff the nail to smooth out the surface.
Tips to Make the Repair Last

After repairing your acrylic nail, proper care is critical. Prevent further breakage and help your fix hold up by following these steps. Many clients wonder, “How long do fake nails last without damage?” — and with proper maintenance, they can easily stay intact for 2 to 3 weeks or more. However, neglecting aftercare can significantly shorten their lifespan.
- Avoid using nails as tools (e.g., opening cans, peeling labels)
- Moisturise your cuticles regularly to maintain flexibility
- Wear gloves when cleaning or washing dishes
- Avoid soaking your nails in water for long periods
- File your nails in one direction to prevent splitting
- Schedule regular refills every 2–3 weeks
When Not to Fix It Yourself
While DIY repairs can be effective, sometimes it’s best to let a pro handle it. Watch for these signs:
- Visible infection, swelling, or redness around the nail
- Severe lifting or complete detachment
- Bleeding or pain
- Mold or greenish discoloration
- Multiple nails broken at once
In these cases, visit a licensed nail technician at Bela Beauty College or your local salon to avoid further complications.
How Professionals Fix Broken Acrylic Nails
At salons like Bela Beauty College, trained technicians use a more refined technique to restore nails.
Here’s what the process often involves:
- Removing or thinning the broken area
- Sculpting acrylic or gel overlay to rebuild the nail
- Using high-quality nail forms or tips
- Applying bonding agents and primers for stronger adhesion
- Sealing and shaping for a flawless finish
Professionals can also spot early signs of issues you might miss, like fungal infections or improper lifting.
How to Prevent Acrylic Nail Breakage in the Future
The best fix is prevention. With consistent care, your acrylics can last longer and stay flawless.
Smart habits to reduce breakage:
- Choose a shorter length if you use your hands a lot
- Avoid biting or picking at your nails
- Don’t skip fill-ins
- Use cuticle oil daily
- Opt for high-quality acrylic products
- Avoid frequent switching between acrylics and gels
Best Practices for Nail Techs:
- Proper nail prep (dehydration and priming)
- Balanced ratio of acrylic liquid to powder
- Consistent thickness across the nail