How Do Makeup Artists Clean Their Brushes?

CEO/Founder Of Bela Beauty College
Makeup artists clean their brushes between clients using fast-drying, alcohol-based sanitizers or wipes to remove makeup residue and kill bacteria. They follow up with deep cleaning (typically weekly) using gentle cleansers, soap, and water to maintain hygiene and extend brush life.
Makeup Sanitation: Why Cleaning Brushes Between Clients Is Non-Negotiable
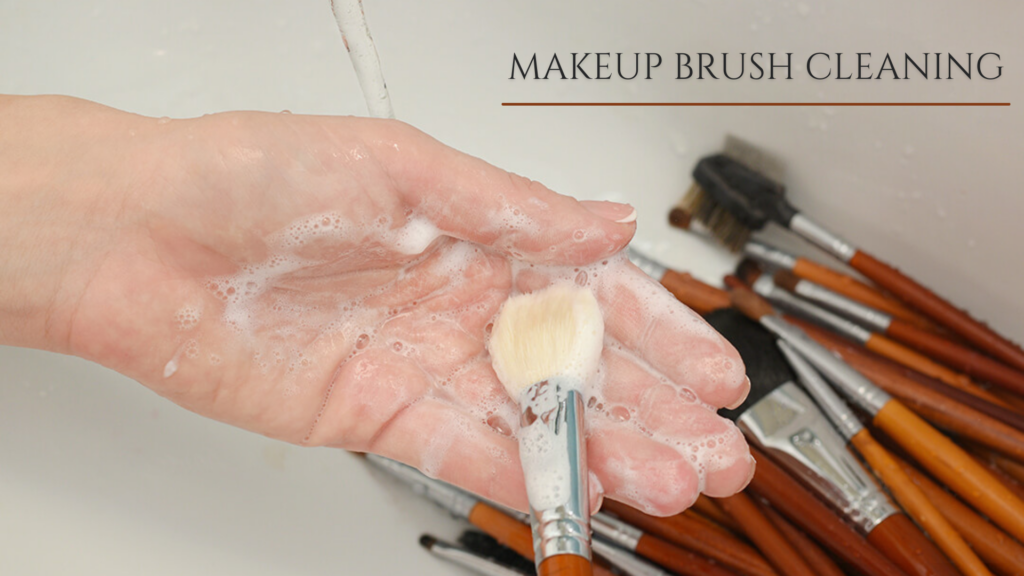
Dirty makeup brushes are a breeding ground for bacteria. When you’re working on multiple clients in a day, this isn’t just about aesthetics—it’s a health issue.
Here’s why every professional makeup artist must take hygiene seriously:
- Prevents bacterial infections, breakouts, and cross-contamination (including E.coli and Staph)
- Maintains client trust and professional credibility
- Preserves the quality of your brushes and the final makeup application
- Avoids allergic reactions and flare-ups
At Bela Beauty College, we teach every student from day one: a clean brush isn’t optional—it’s essential.
How Do Makeup Artists Clean Their Brushes Between Clients?
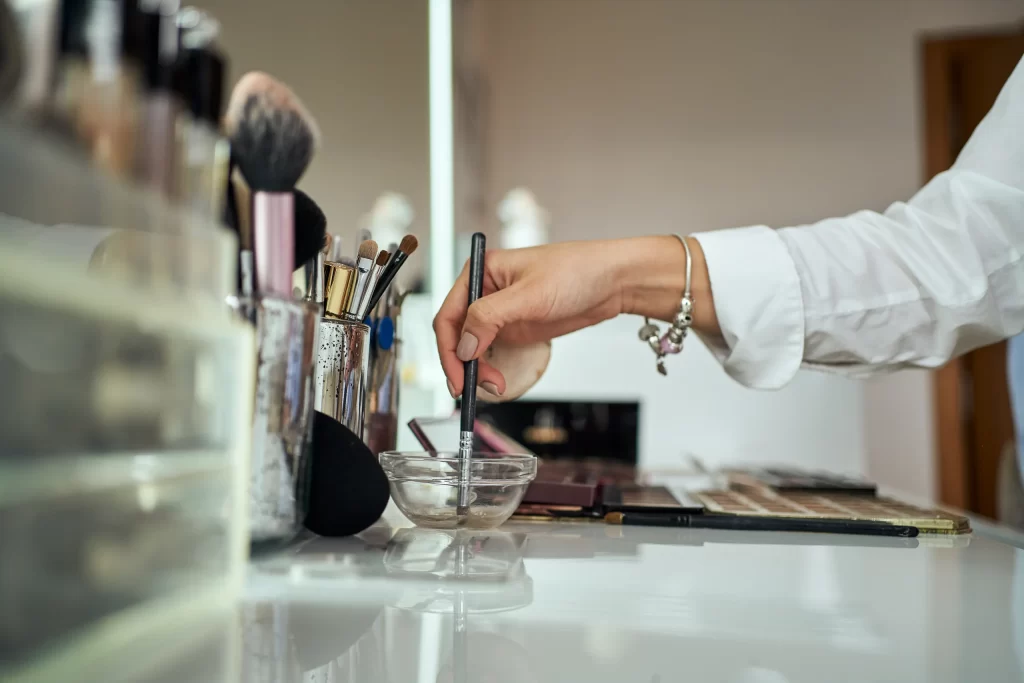
Makeup artists use quick, effective sanitising methods between clients to ensure tools are clean and safe for immediate reuse.
Standard spot-cleaning process includes:
- Spraying alcohol-based brush cleaner (70% isopropyl alcohol or a professional solution like Cinema Secrets)
- Swirling the brush on a clean paper towel to remove product buildup
- Letting it air-dry for about 60 seconds
For lip brushes or cream products:
- Soak the bristles in cleaner and squeeze out excess product and moisture
These methods are fast, effective, and keep the brushes disinfected until a deeper clean can be done.
How to Sanitize Makeup Brushes Between Clients
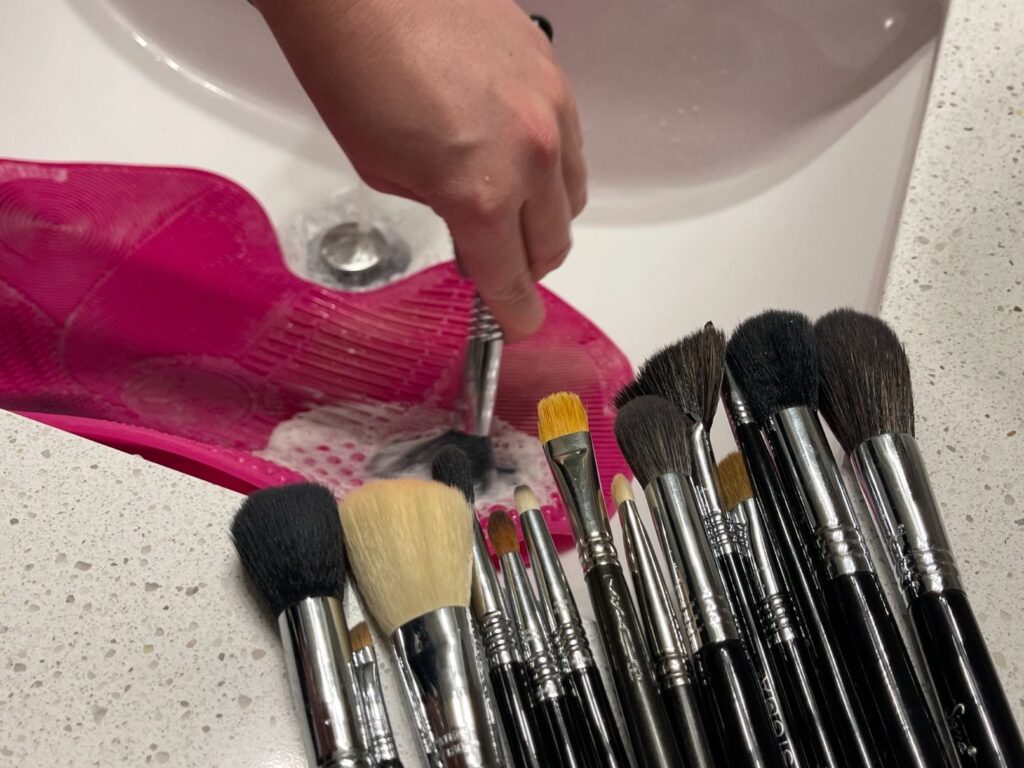
Sanitising goes beyond just wiping off pigment. You need to kill bacteria and viruses too.
Use these tools and techniques:
- Alcohol-Based Brush Sanitizer: Quick-drying and efficient
- Disposable wipes soaked in brush cleaner
- Cotton pads soaked in alcohol to clean brush handles
- Clean towel or paper surface for drying (never put damp brushes back into your kit)
Pro Tip: Keep a sanitising station in your kit—compact, refillable, and easily accessible.
Best Makeup Brush Cleaner for Professional Use
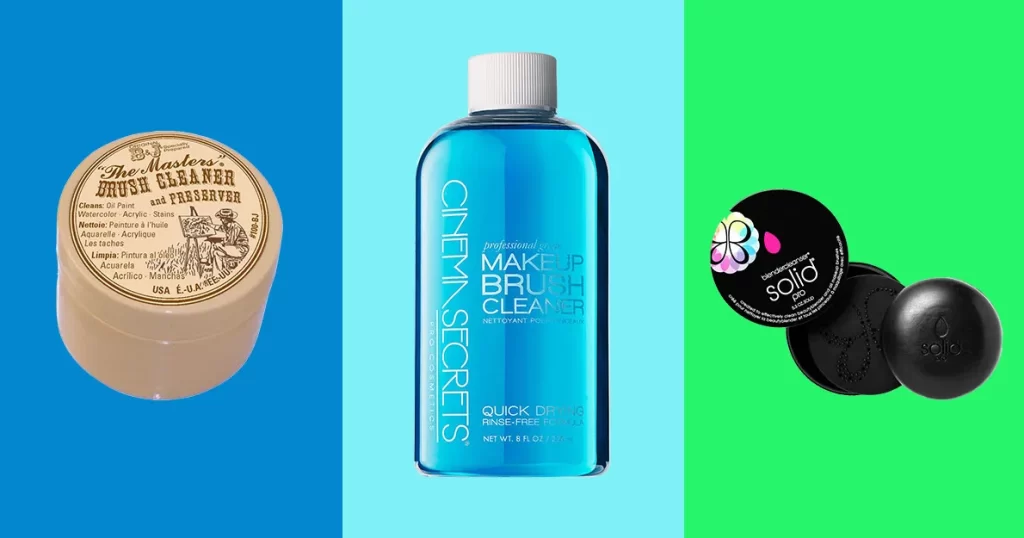
Not all brush cleaners are created equal. Some cleanse. Some sanitize. The best do both.
Top-rated professional brush cleaners:
- Cinema Secrets Makeup Brush Cleaner (alcohol-based, dries fast, sanitizes thoroughly)
- Sephora Daily Brush Cleaner (great for quick cleans)
- Parian Spirit (botanical-based, powerful and less harsh on brushes)
For deep cleaning:
- Beauty Blender Solid Cleanser (for both sponges and brushes)
- Dr. Bronner’s Baby Unscented Castile Soap (gentle and effective)
Eco Tools Makeup Brush + Sponge Shampoo (affordable and eco-friendly)
Best Way to Clean Makeup Brushes (Quick & Deep Methods)
Spot Cleaning (Between Clients)
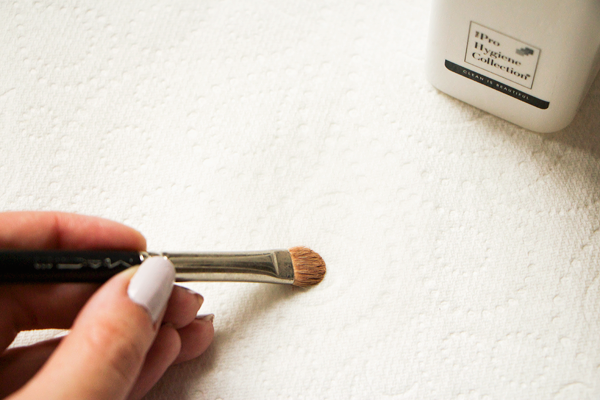
Use this when time is tight but hygiene is key.
You’ll need:
- Alcohol-based solution
- Spray bottle
- Paper towel
Steps:
- Spray the solution onto a folded paper towel
- Swirl your brush in circular motions until pigment is gone
- Let it dry for 60 seconds
Deep Cleaning (End of Day or Weekly)
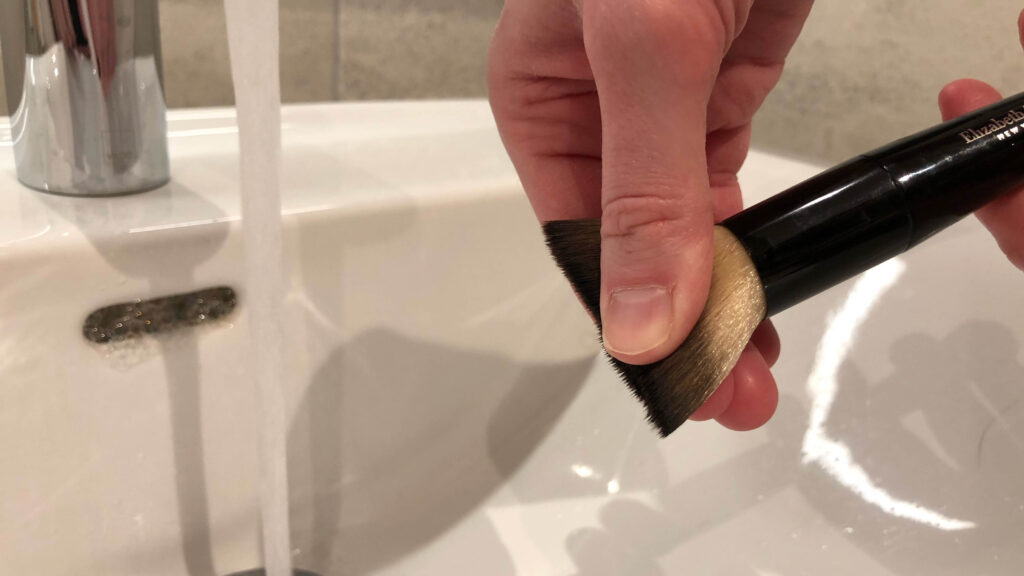
Essential for removing product buildup and bacteria from deep in the bristles.
You’ll need:
- Gentle soap or brush shampoo
- Lukewarm water
- Clean towel
Steps:
- Wet the brush with bristles facing down
- Dip into soap or cleanser
- Swirl in your palm or a cleaning mat
- Rinse thoroughly until water runs clear
- Gently squeeze out excess water
- Reshape the bristles
- Lay flat to dry overnight
How to Clean Makeup Brushes at Home vs. in a Studio
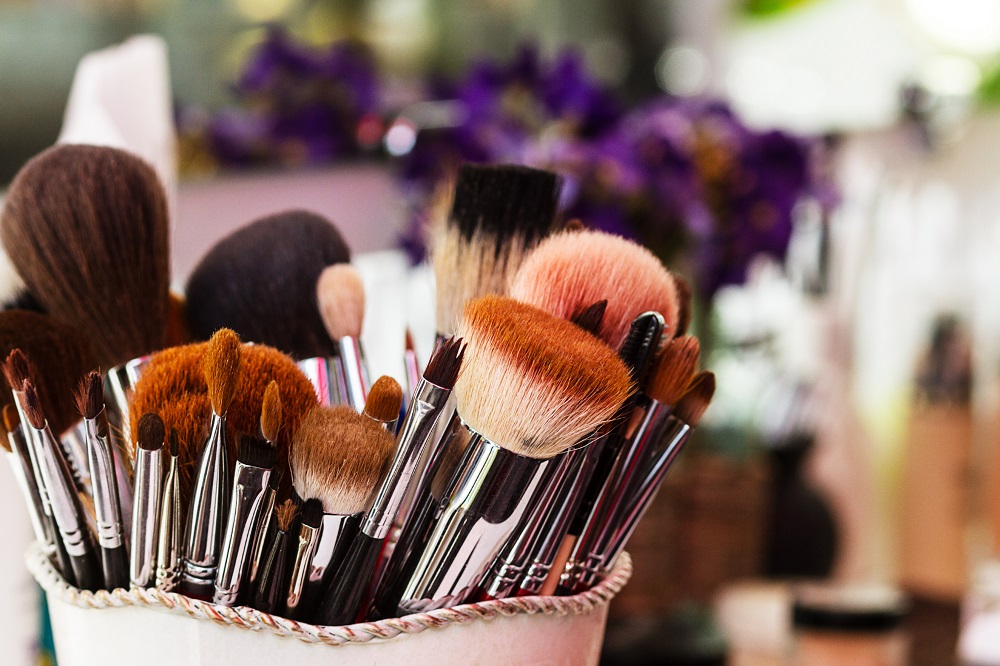
Whether you’re in a salon or home setup, the hygiene standard should be the same—but the approach may vary.
At home:
- You can take more time for deep cleaning
- Drying space is often more available
In a studio or on-site:
- Spot cleaning is more practical
- Always carry a clean backup set
- Sanitise handles and other surfaces often
How Often Should You Wash Makeup Brushes?
The frequency depends on usage, product type, and brush material.
General guidelines:
- Between every client: Spot clean
- Weekly (minimum): Deep clean
- Cream/liquid product brushes: Clean more frequently due to buildup
Natural bristle brushes: Clean gently and more often
Tips to Keep Your Brushes Clean & Clients Safe
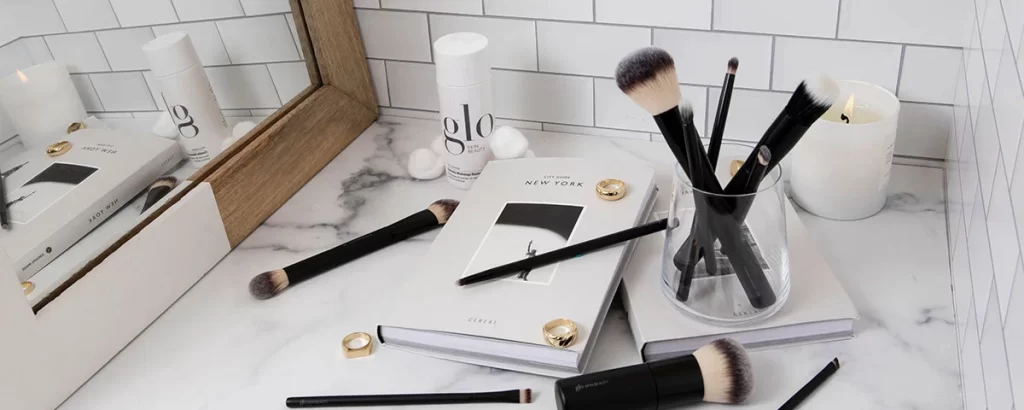
Brush hygiene doesn’t end with cleaning. Maintenance and usage matter too.
Brush Safety Tips:
- Don’t double-dip into products (use a palette)
- Use disposable mascara wands and lip applicators
- Disinfect brush handles after every client
- Store clean brushes in a covered container or roll
- Avoid touching the brush head with bare hands
Brush Drying Techniques & Storage
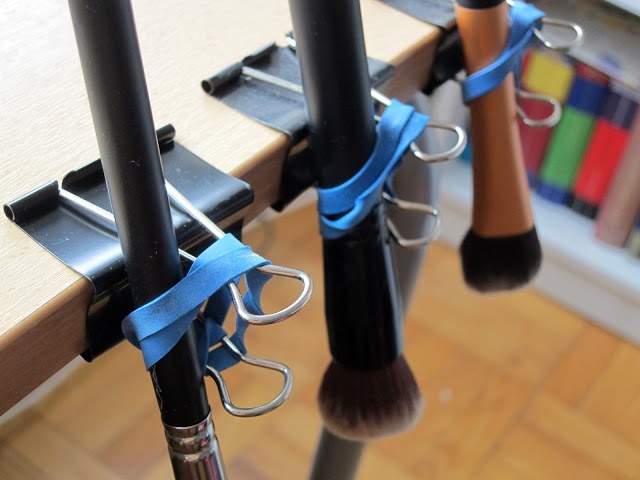
Improper drying can damage your brushes and harbor bacteria.
Best drying practices:
- Lay flat on a clean towel with bristles hanging off the edge
- Never dry upright (water can seep into the ferrule and loosen glue)
- Use a brush rack if available
Storage Tips:
- Use brush rolls with individual slots
- Keep separate pouches for clean vs. dirty brushes
- Store in a dry, cool space
When Should You Replace Makeup Brushes?
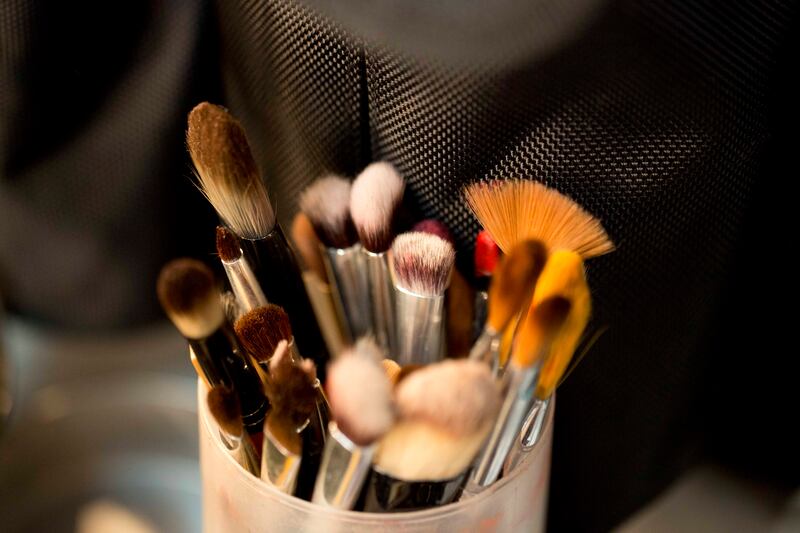
Even with perfect care, brushes have a lifespan.
Replace if you notice:
- Bristles falling out or shedding excessively
- Shape distortion that can’t be corrected
- Discoloration that doesn’t wash out
- Persistent odor
- Handles becoming loose or sticky
Pro Tip: Replace sponges more frequently, especially when used with liquid products.
Sanitation Transparency in Makeup Services

Clients are increasingly aware of hygiene. Make it a selling point.
How to show your hygiene standards:
Clean your brushes in front of your clients
Explain your cleaning process as you work
Display certificates of sanitation or relevant training (like from Bela Beauty College)
Share your hygiene process on social media or your portfolio
Why this matters:
Builds trust
Sets you apart as a true professional
Increases client retention
Whether you’re just starting or looking to elevate your skills, maintaining high hygiene standards is non-negotiable. That’s why we encourage every aspiring artist to take our beginner and advanced courses in the makeup industry, where we cover not just artistry techniques but also professional hygiene practices that clients look for and respect.


