What is Lash Mapping and How Do You Do It?

CEO/Founder Of Bela Beauty College
Lash mapping is the strategic process of planning where and how to apply individual eyelash extensions to suit a client’s eye shape and style preferences. It ensures balanced, symmetrical, and professional results by using visual guides, tools, and customisable lash designs.
Lash Mapping Explained for Beginners and Pros
Lash mapping is the blueprint for applying eyelash extensions.
- It involves sectioning the lash line
- Selecting appropriate curl, length, and thickness
- Mapping out styles to complement the client’s natural eye shape
Whether you’re a beginner or an experienced lash artist, mastering lash mapping ensures precision, consistency, and the ability to customize every set. It’s also an important foundation when learning not just styles, but understanding how long eyelash extensions usually take during a full set or refill.
At Bela Beauty College, we teach this essential technique in our professional lash courses, guiding students through real-world applications and certification.
Lash Mapping Guide: Step-by-Step Tutorial
Step 1: Analyze Your Client’s Eye Shape
Before mapping begins, a proper eye shape analysis sets the foundation for your design.
- Almond Eyes: Versatile; suits all lash maps
- Round Eyes: Avoid overly dramatic styles; use cat eye to elongate
- Hooded Eyes: Focus on opening the lid space
- Monolid Eyes: Prioritise curl over length to prevent droop
- Downturned Eyes: Use lifted styles like doll or squirrel
Pro Tip: Always consider lash health and growth direction in your analysis.
Step 2: Select the Lash Mapping Style
Choose a style that complements your client’s natural features and desired outcome:
- Doll Eye: Longest lengths in the center to open the eyes
- Cat Eye: Gradual increase in length toward the outer corner for a lifted effect
- Natural Style: Subtle enhancement based on natural lash growth
- Squirrel Eye: Medium lengths on outer third; blends doll and cat eye
- Wispy Style: Alternating lengths for a textured, dramatic finish
Step 3: Prepare the Lash Line
- Clean the lash line with an oil-free cleanser
- Apply under-eye pads or medical tape to separate lower lashes
- Ensure the client is comfortable and relaxed
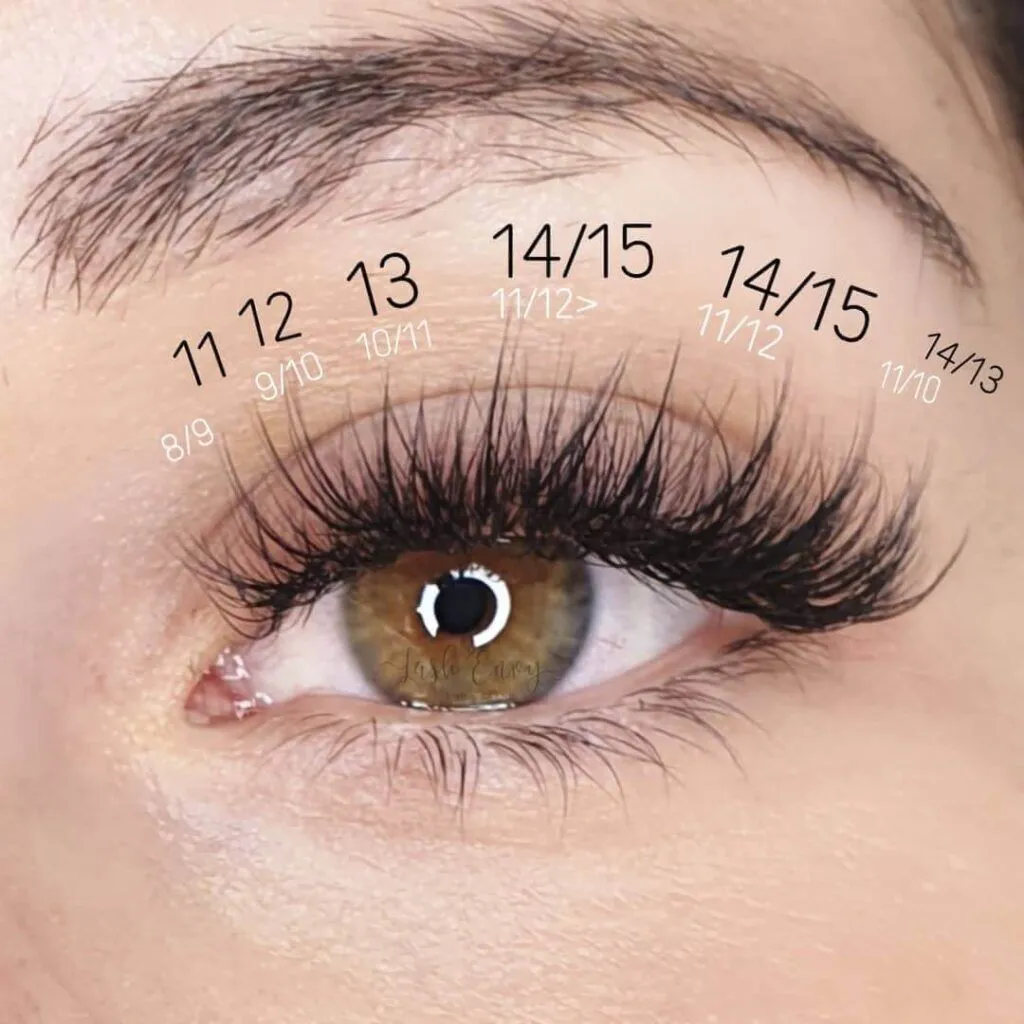
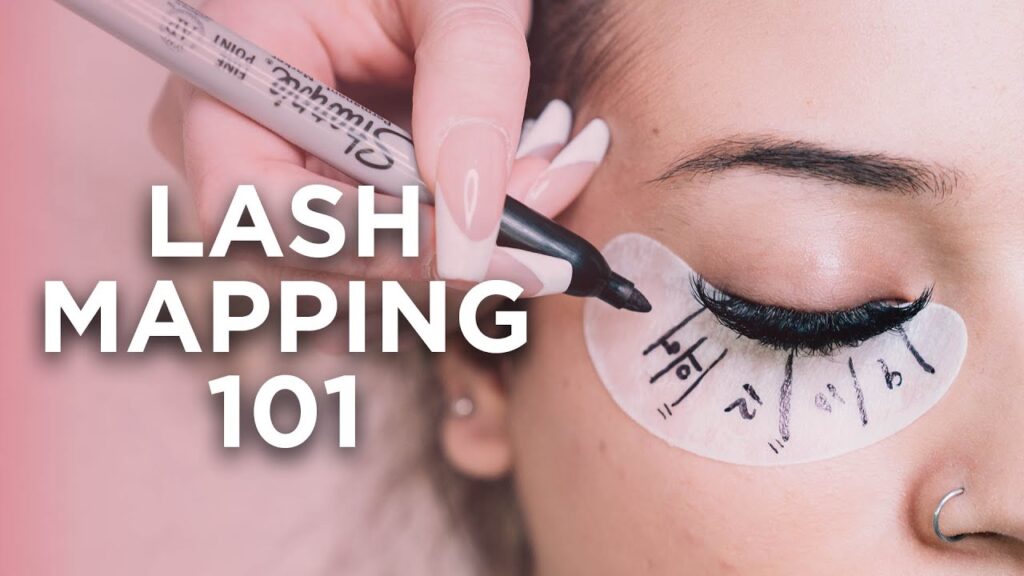
Step 4: Create the Lash Map
- Use a fine-tip mapping pen to mark your sections directly on the under-eye pad
- Divide the lash line into 5 to 7 sections
- Determine curl, length, and thickness for each section
- Emphasise the focal point of the design first (center or outer edge)
Example for Cat Eye Map:
- Inner corner: 8mm C curl
- Middle: 10-11mm C curl
- Outer corner: 12-13mm D curl
Step 5: Apply Lash Extensions by Zone
Follow your map precisely:
- Use tweezers for accuracy
- Apply lashes zone-by-zone
- Continuously cross-check with your drawn map
- Adjust placements based on lash density and natural curl
Lash Mapping for Eye Shapes
Customising lash maps for specific eye shapes is essential for flattering results.
Lash Mapping for Almond Eyes
- Most styles work
- Cat eye and squirrel eye add drama
- Doll eye makes them appear rounder
Lash Mapping for Round Eyes
- Avoid placing longest lashes in center (can exaggerate roundness)
- Cat eye style helps elongate and balance
Lash Mapping for Hooded Eyes
- Use stronger curls (e.g., D or L curl)
- Focus longer lengths above visible lid space
Lash Mapping for Monolid Eyes
- Use tighter curls to lift the lash
- Shorter lengths at the inner corner prevent drooping
Lash Mapping for Downturned Eyes
- Avoid heavy outer corners
- Use lifting curls and central emphasis (Doll or Squirrel style)
Lash Mapping Tools & Supplies
The right tools will save you time and improve accuracy.
Must-Have Lash Mapping Tools
- Fine-tip mapping pen or eyeliner pencil
- Hydrogel under-eye pads or micropore tape
- Lash extension tweezers (isolation and application)
- Lash adhesive
- Curl and length chart
Optional but Useful
- Lash tile or palette
- Nano mister for client comfort
- Lash styling templates
- Digital lash mapping tools or apps
Popular Lash Mapping Styles Explained
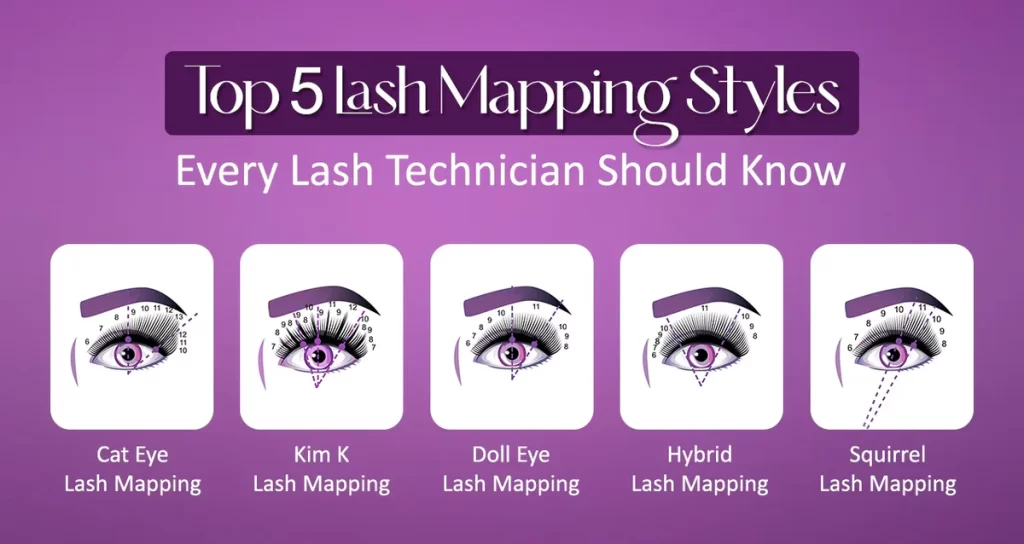
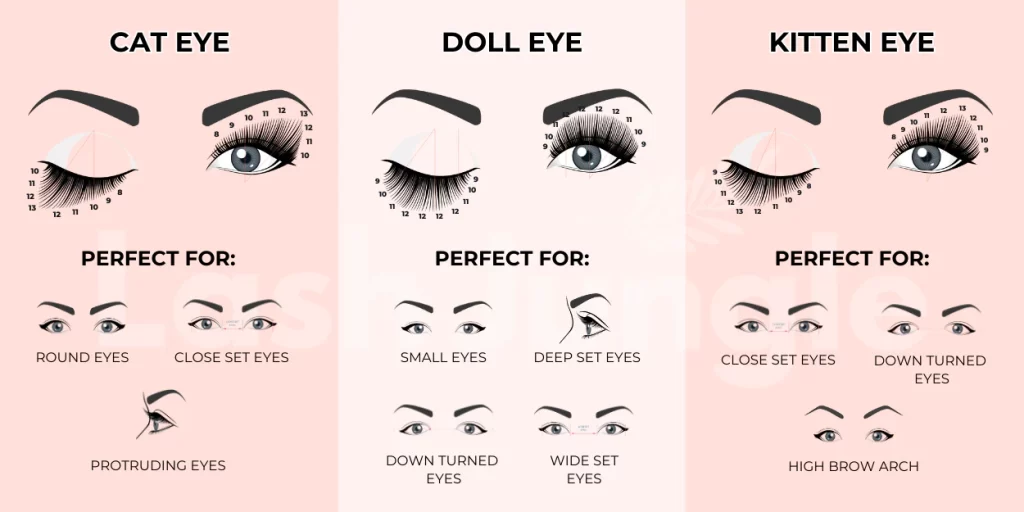
Doll Eye Mapping
- Longest lashes placed at the center
- Shorter lengths at inner and outer corners
- Best for: Close-set or downturned eyes
Cat Eye Mapping
- Gradual increase in length toward the outer corner
- Creates a lifted, winged effect
- Best for: Almond or round eyes
Natural Lash Mapping
- Follows client’s natural lash growth
- Subtle and professional look
- Best for: Everyday wear or mature clients
Wispy Mapping
- Mix of lengths across the lash line
- Adds dimension and texture
- Best for: Glamorous or editorial looks
Squirrel Eye Mapping
- Tapers from short inner to longest point before outer corner
- Soft lift without exaggeration
- Best for: Almost any eye shape
Common Lash Mapping Mistakes and How to Avoid Them
Lash extensions require precision, balance, and an understanding of natural lash anatomy. Avoiding common mistakes can make the difference between a flawless set and one that causes discomfort or damage. Here are key lash mapping mistakes to steer clear of:
-
Ignoring Natural Lash Growth
Leads to drooping or overly stiff sets.
Always map based on real lash direction. -
Using Incorrect Curl or Length
Can cause discomfort or breakage.
Match curls to natural lash lift. -
Inconsistent Lash Sectioning
Causes asymmetry between eyes.
Use a ruler or pre-drawn lash pads. -
Skipping Eye Shape Analysis
Results in unflattering design.
Always assess the shape first. -
Overloading Outer Corners
Increases risk of lash droop and fallout.
Balance weights across the lash line.
Expert Lash Mapping Tips from Bela Beauty Colleg
- Always start with the emphasis zone: Establish the focal point of the design first
- Communicate with your client: Understand their preferences before starting
- Use a lash display: Visual aids help clients choose their ideal style
- Train your eye: With experience, your analysis and adjustments become faster
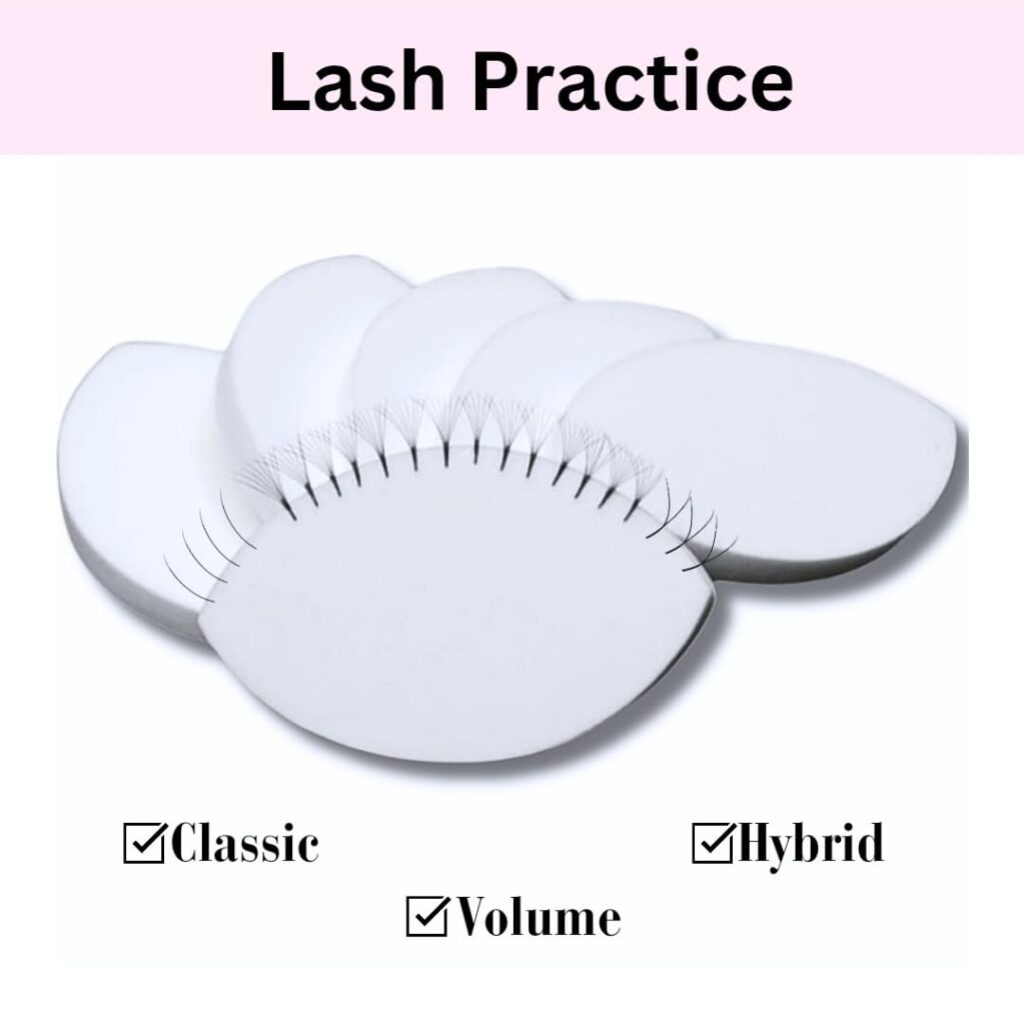
- Practice on paper first: Sketch lash maps to build muscle memory
Our online lash extension course teaches you everything from precise lash mapping and flawless application techniques to proven business strategies — all at your own pace. You’ll also discover how to get perfect eyelash extensions every time by mastering lash isolation, adhesive control, and styling for different eye shapes.
Lash Mapping FAQs: Answering Common Questions
Is lash mapping necessary for beginners?
Yes. Lash mapping removes guesswork and helps beginners develop symmetry and structure.
How long does lash mapping take?
- Beginners: 10-15 minutes
- Experienced artists: 5 minutes or less
Can I reuse the same lash map for the same client?
Yes, if their desired look and lash health remain unchanged. Save it in their client file.
What’s the difference between lash mapping and lash styling?
- Lash Mapping: The technical layout plan
- Lash Styling: The creative decision of how the lashes should look